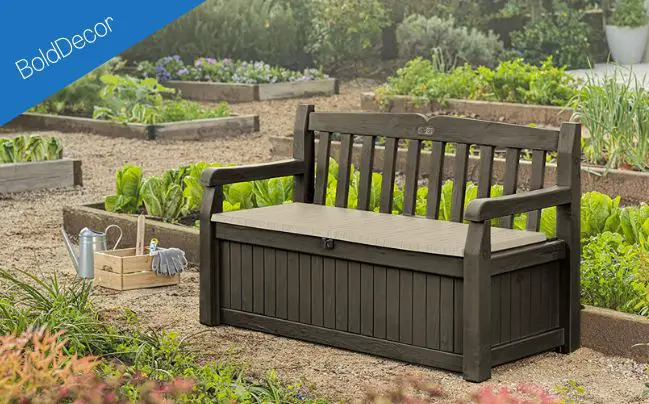
How To Build A Farmhouse Bench—If you’re looking for a simple, elegant piece of furniture that will add both function and style to your home, look no further than a farmhouse bench.
A farmhouse bench is the perfect addition to any entryway, mudroom, or even as extra seating at your dining table. Not only are farmhouse benches incredibly versatile, but they’re also relatively easy to build.
In this guide, we’ll show you how to build a farmhouse bench step-by-step, from start to finish.
So, whether you’re a beginner or an experienced woodworker, this guide is for you!
Materials Needed to build a farmhouse bench
In order to build a farmhouse bench, you will need the following materials. You can order for anyone you don’t have from Amazon:
— Be sure to measure and cut your wood pieces according to the dimensions of your space. Once you have all of your pieces cut, you can start assembly.
More Reads:
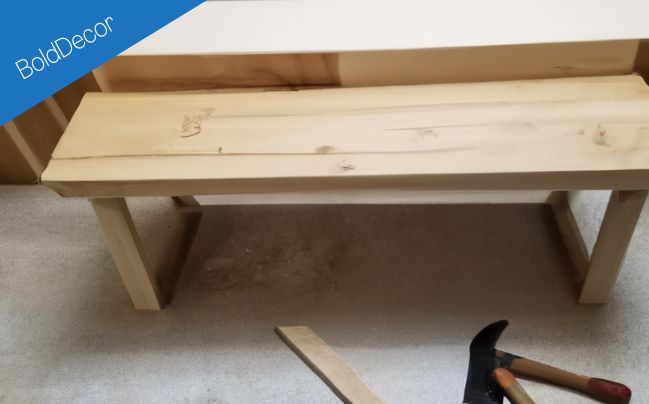
How to build a farmhouse bench
Farmhouse bench is the perfect addition to any entryway, mudroom, or even at the foot of your bed. And it’s easy to build with just a few supplies and can be completed in a weekend.—Here are the simple steps to follow.
Step 1:
Cut the 2×4s to length. This part is simple and fast. Just measure off 8 feet of 2×4s and cut them to length with a circular saw or power miter saw.
Step 2).
Drill pocket holes through both sides of each of your 8-foot pieces of 2×4s. Then attach them to each other with Kreg Jig pocket screws.
Step 3).
After drilling, use your Kreg Jig to screw through both sides of the two boards so that they are attached together with screws from both sides.
If you don’t have a Kreg Jig, you can also use 1 1/4 inch pocket screws instead. Just make sure that the ends of your boards are flush with each other, so they don’t split apart when attaching them together with the Kreg Jig.
Step 4).
Attach one end of your bench using wood glue and T-nuts (you can find these at any hardware store). Make sure that the top surface has an even amount of glue on it before screwing it into place so that no gaps form between wood surfaces.
If you’re not sure how much glue to use, start with a small amount). Make sure that you do this on one end only (the bottom) otherwise it won’t hold!
Step 5).
Check for any gaps or loose spots where you might want to add trim or miter cuts later on down the road after everything dries out enough for painting/staining/sealing etc.
Bottom line
In this article, we have provided a detailed step-by-step guide on how to build a beautiful farmhouse bench. This bench would be a great addition to any home, and it can be built relatively easily with some basic carpentry skills.
We hope you have enjoyed this article and that you will now be able to build your own amazing farmhouse bench!